
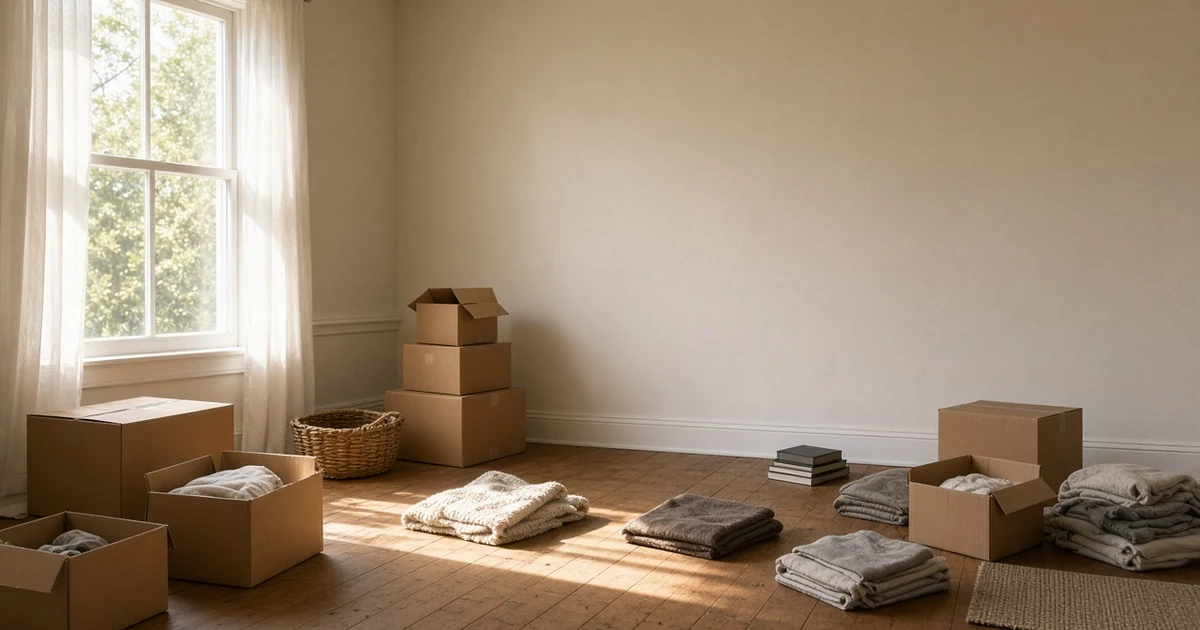
You got the keys, walked in and found furniture in every room, a garage packed to the rafters and boxes in the basement. It happens more often than people expect, and the pile can feel overwhelming. This guide is a practical plan for sorting what the last owner left behind and getting rid of it in an order that saves time and money.
This is not legal advice. If you are not sure what belongs to you, read your purchase documents and ask your realtor or lawyer before you throw anything out.
Start with a walk through, not a bin
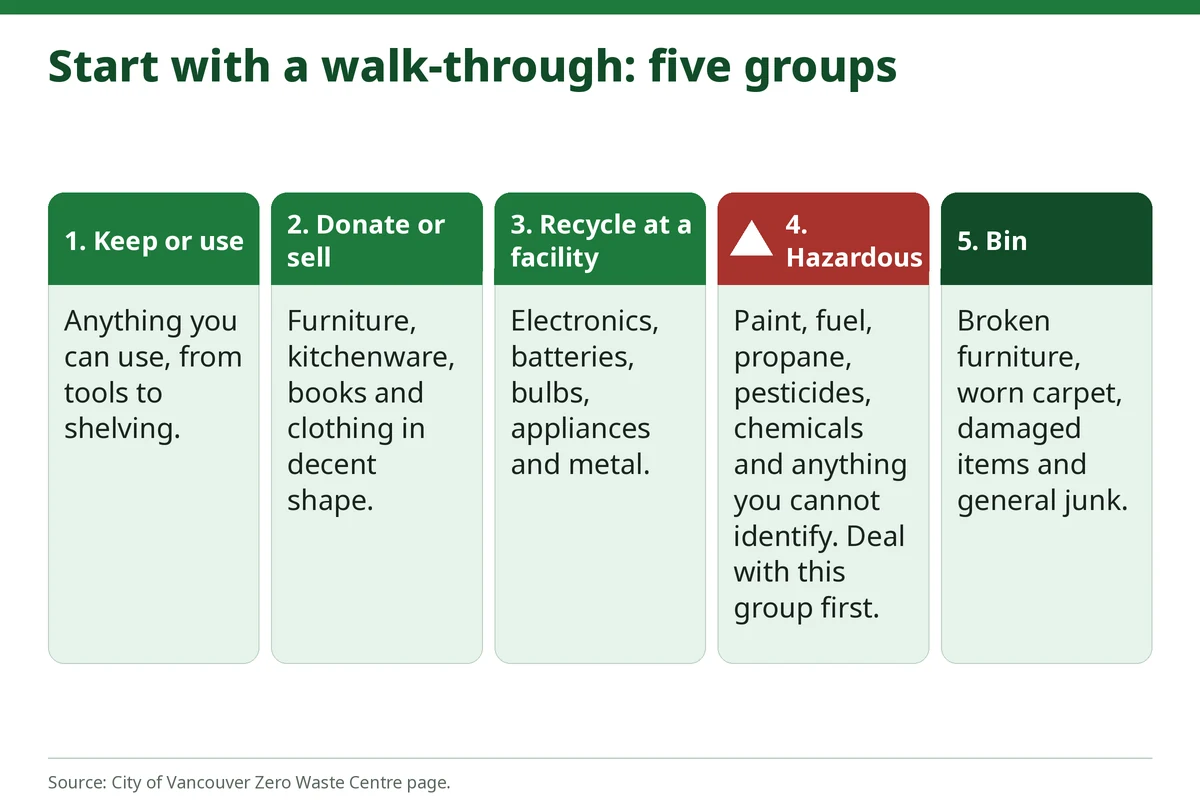
Before anything leaves the house, spend an hour walking through every space with a notepad. Take photos. Sort what you see into rough groups:
- Keep or use. Anything you can use, from tools to shelving.
- Donate or sell. Furniture, kitchenware, books and clothing in decent shape.
- Recycle at a facility. Electronics, batteries, bulbs, appliances and metal.
- Hazardous. Paint, fuel, propane, pesticides, chemicals and anything you cannot identify.
- Bin. Broken furniture, worn carpet, damaged items and general junk.
Group four needs the most care, so deal with it first.
Step 1: Pull out the hazardous items
Old houses often have a shelf of paint cans, jars of unknown liquid or a propane tank in the shed. These never go in a Trash King bin, and they are not garbage cart items either. Paint, propane, tires, fuel and electronics stay out too, as do the other items on our what not to put in a bin page.
Use official programs for them. The City of Vancouver's Zero Waste Centre, at 8588 Yukon Street, lists propane tanks (maximum 4 disposable and 2 refillable), electronics, small appliances, power tools and household batteries among its free residential drop off items, with limits that the City's page spells out. Metro Vancouver's recycling and waste centres, such as United Boulevard in Coquitlam, accept many household hazardous items too. Metro Vancouver's North Shore centre page lists residential paint (up to 23 L containers, maximum 10 cans per customer per visit) and propane tanks (up to 100 pounds). Check each site's own page for what it accepts and its limits before you drive over.
If you cannot identify a liquid or a container, do not mix it with anything and do not pour it out. Ask the facility or Metro Vancouver at 604-432-6200 where to take it.
Step 2: Donate or sell what is still good
Most people find the biggest wins here. Furniture, working appliances and building materials can often go to a reuse shop. The City of Vancouver's pop up event page lists non profit groups for repair or donation, including reBOOT Canada for computers, BabyGoRound and the Vancouver Tool Library. Habitat for Humanity ReStore is another popular option for building materials and furniture, and we cover it in a separate guide. Call first, because each shop has its own list of what it takes.
Remember that pop up recycling events do not take furniture, large or bulky items, mattresses or box springs, according to the City, so they are not the place for the bulk of a house cleanout.
Step 3: Take recyclables to the right place
Electronics, small appliances, batteries and metal go to a recycling facility rather than the bin. The City of Vancouver's Zero Waste Centre is residential only and lists scrap metal, large appliances such as fridges, freezers and air conditioners, bicycles and clothing and textiles. Metro Vancouver recycling and waste centres list their own accepted items by material. Always check the page for the site you plan to use.
Step 4: Bin the rest
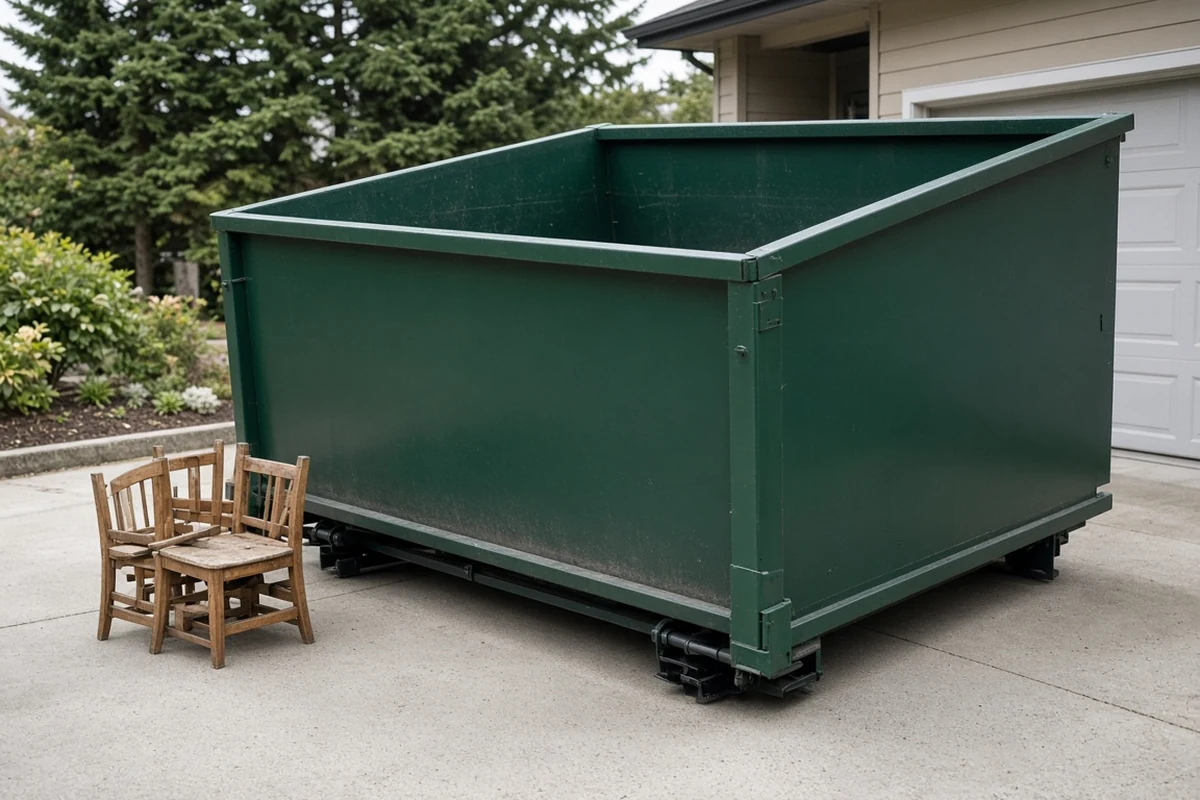
After steps one to three, what is left is usually broken furniture, old carpet, damaged household goods and general junk. That is where a bin saves a lot of trips.
Trash King brings the bin to you and hauls it away. The loading is up to you. The usual starting point for junk, cleanouts and renos is the 20-yard. The 15-yard junk bin is at times available, but it is commonly sold out, so plan around the 20-yard. For any other smaller size, just ask as you book. Details are on the 20-yard bin page.
For a house that was fully furnished, the 20-yard is the usual place to start. If you also have a garage and a basement to clear, say so when you call so we can talk through the options.
A bin on private property, like your driveway or yard, takes no permit. Some cities need a permit for a bin on the street, boulevard or lane, so confirm with your City before you book. Strata or HOA rules may still apply on top of that. If yours does, apply with the City, and we time delivery to any permit dates.
A mattress or box spring can go in as an add on for an extra fee, so mention it when you book. Tell us how many when you call.
Drywall, concrete and dirt go in their own separate bins. Clean wood is unpainted wood only, and nails are fine. Mention treated wood when you order, because it needs special handling. Our residential services page has the full picture.
A simple order of work
- Day 1. Walk through, photograph, sort into groups and pull out anything hazardous.
- Day 2. Drop off recyclables and hazardous items at the right facilities, and arrange a donation pickup or drop off.
- Day 3 onward. Book the bin and load it room by room. Begin with the garage and basement, because those usually hold the heaviest items.
Tips for loading
- Load heavy items first and keep them flat.
- Break down furniture so it lies flat in the bin.
- Do not stack above the rim.
- Leave paint, propane, fuel and electronics out as you go.
- If you find paperwork, photos or valuables, set them aside. Do not toss them.
FAQ
Can I just put everything in a bin? No. Paint, propane, tires, fuel and electronics never go in the bin. Pull those out and use the official programs.
What size bin should I order? Plan on the 20-yard for cleanouts, which is the common start. Other sizes? Ask when booking.
Who loads the bin? You do. We deliver the bin and haul it away.
Can mattresses go in? Yes, as an add on for an extra fee. Mention them when you book.
Do I need a permit? Only if the bin goes on the street, boulevard or lane. A driveway or yard needs none.